
Views: 0 Author: Site Editor Publish Time: 2025-11-21 Origin: Site


So, you've decided to create your own custom enamel pins. That's a great choice! Enamel pins are a fantastic way to showcase your brand, support a cause, or just express your creativity. But as you start the design process, you'll quickly encounter a key decision: what kind of enamel should you use?
The two most common options are hard enamel and soft enamel. While they might sound similar, they produce distinct looks and feels. Choosing the right one is crucial for bringing your vision to life exactly as you imagined.
This guide will walk you through the differences between hard and soft enamel, helping you understand the unique characteristics of each. We'll explore their appearance, durability, and the production process, giving you the knowledge you need to select the perfect finish for your custom pins enamel project.
Before we compare the types, let's quickly define what we're talking about. Enamel pins are small, decorative pins created by pouring colored enamel into the recesses of a die-struck metal design. This process is what gives the pins their vibrant, polished look.
The "enamel" itself is a type of soft glass or paste that, when heated, fuses to the metal base. The key difference between hard and soft enamel pins lies in how this enamel is applied and finished, which ultimately affects the pin's final texture and appearance.
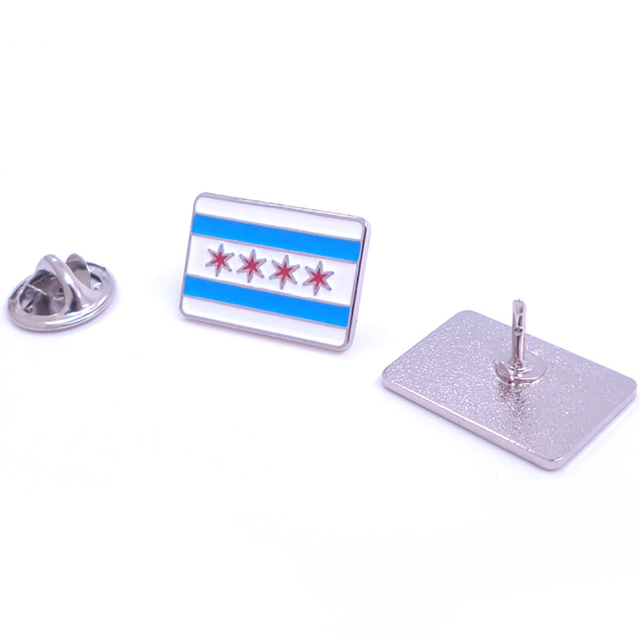
Hard enamel, also known as cloisonné, is prized for its smooth, polished, and jewelry-like finish. If you run your finger across a hard enamel pin, the surface will feel completely flat. This is because the enamel is filled to be level with the raised metal lines of the design.
The creation of a hard enamel pin is a multi-step process that requires precision and care.
1.Stamping the Design: First, your design is stamped onto a sheet of metal, usually brass or iron, creating raised metal lines and recessed areas.
2.Filling with Enamel: The recessed sections are then overfilled with a special glass-like resin enamel. Each color is applied separately.
3.Baking: The pin is baked at a very high temperature (around 1700°F or 930°C). This process hardens the enamel and fuses it to the metal.
4.Polishing: After baking, the excess enamel is ground and polished down until it is flush with the raised metal lines. This creates the signature smooth, flat surface.
5.Plating: Finally, the metal on the pin is plated with finishes like gold, silver, or black nickel to give it a brilliant shine.
Hard enamel is an excellent choice for designs that require a high-end, professional look. Its durability and scratch-resistant surface make it ideal for pins that will be worn frequently on jackets, lanyards, or bags. Many corporate logos, premium brand merchandise, and artist collections use hard enamel for its perceived higher value.
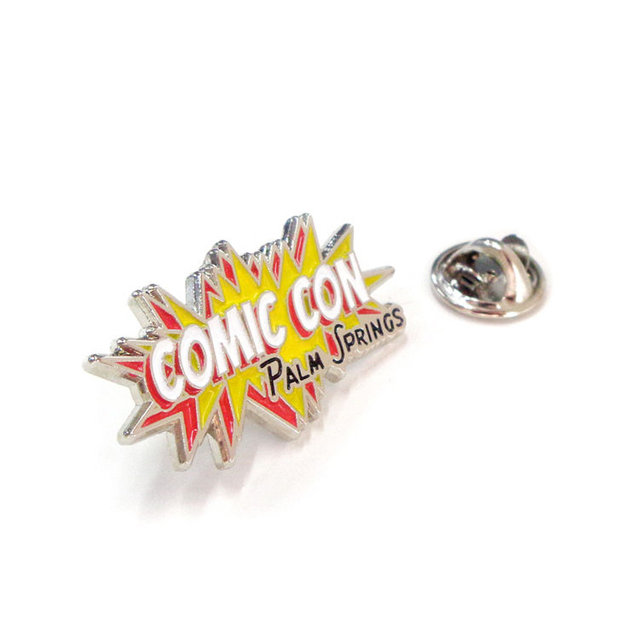
Soft enamel is the more traditional and common style for custom pins. Unlike hard enamel, the enamel in a soft enamel pin sits below the raised metal lines. This creates a textured, dimensional feel where you can physically feel the design's outlines.
The process for making soft enamel pins is slightly simpler and faster than for hard enamel.
1.Stamping the Design: Just like with hard enamel, the process starts by stamping your design onto a metal sheet.
2.Filling with Enamel: The recessed areas are filled with a liquid enamel paint. In this case, the enamel is not overfilled.
3.Baking: The pin is then baked at a lower temperature (around 450°F or 230°C). This heat-cures the enamel, but it remains at a lower level than the metal outlines.
4.Optional Epoxy Coating: Sometimes, a clear epoxy resin coating is applied over the top. This creates a smooth, dome-like surface, protecting the enamel and mimicking the feel of a hard enamel pin, though it still looks visually different.
Soft enamel is incredibly versatile and often more budget-friendly than hard enamel. It's perfect for designs with a lot of fine detail or text, as the raised metal lines provide clear separation between colors. This style is popular for promotional giveaways, event merchandise, and designs with a more fun, casual, or retro vibe.

To make the decision even easier, here’s a side-by-side comparison of the key features of custom pins enamel types.
Feature | Hard Enamel | Soft Enamel |
|---|---|---|
Texture | Smooth, flat surface. Enamel is level with the metal lines. | Textured, dimensional feel. Enamel sits below the metal lines. |
Durability | Highly durable and scratch-resistant. | Durable, but more prone to scratches without an epoxy coating. |
Appearance | Polished, glossy, jewelry-quality finish. | Vibrant and detailed, with a classic embossed look. |
Color | Colors may appear slightly more muted due to the polishing process. | Colors are often brighter and more vibrant. |
Detail | Good for most designs, but very fine lines can sometimes be lost. | Excellent for intricate designs and fine text. |
Cost | Generally more expensive due to the longer production process. | More budget-friendly and faster to produce. |
Choosing between hard and soft enamel ultimately comes down to three factors: your design, your budget, and your desired aesthetic.
If you are looking for a premium, long-lasting pin that looks sleek and professional, hard enamel is the way to go. Its smooth finish and high durability make it a fantastic option for corporate branding, exclusive artist merch, or any pin intended to be a long-term keepsake.
On the other hand, if you need a cost-effective pin that can accommodate intricate details and has a vibrant, textured look, soft enamel is an excellent choice. It's perfect for large orders, promotional events, or designs where you want the details to really pop.
No matter which option you choose, custom enamel pins are a powerful and creative medium. By understanding the unique qualities of both hard and soft enamel, you can confidently create a pin that perfectly represents your vision and captivates your audience.